
http://making-your-own-style.fabsugar.com/How-make-your-own-Hoodie-tutorial-603430
Ok i came across this tutorial i thought i'd share with u guys from www.craftster.org and thought its damn cool..even though i haven't ever tried sewing an item of clothing before i may give it a try!!!
So the site says-
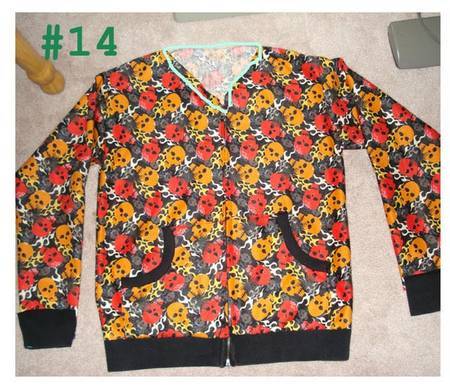
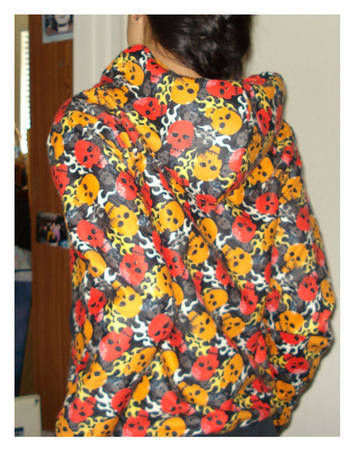
so to start things off. my veggietales hoodie. not really a flattering color or print but it's super warm because i lined the entire hoodie, sleeves and all, with flannel.
so to start things off. my veggietales hoodie. not really a flattering color or print but it's super warm because i lined the entire hoodie, sleeves and all, with flannel.
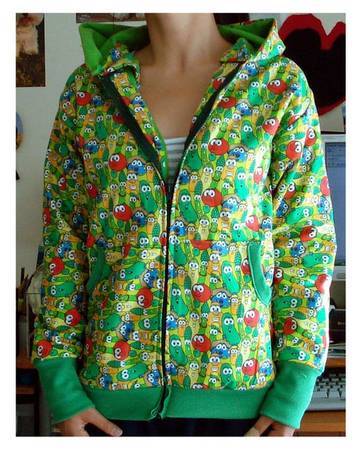

now onto the tutorial. please read this carefully before asking too many questions. I'll try to be as clear as possible. I directed this tutorial towards someone who has sewn a piece of clothing before. Not going into detail about how to attach sleeves and such but it should be quite simple to figure out.
Materials: 2+ yards of main fabric, .5 yard lining (for hood), 20" or longer separating zipper, .5 yard rib knit fabric, 1 tshirt, it would also be useful to have a hoodie next to you while you're doing this just to make sure things look right.
Instructions:
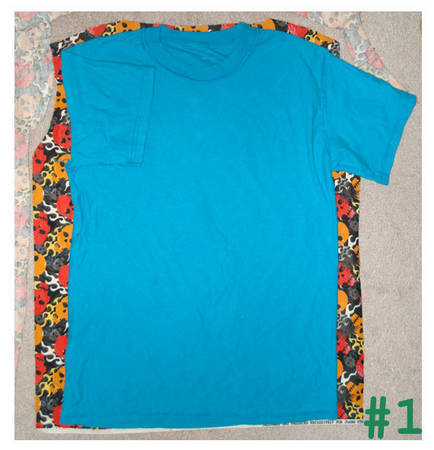
1. Place the tshirt on top of the fabric. fold the sleeves in and cut out the shape adding about .75" on both sides.
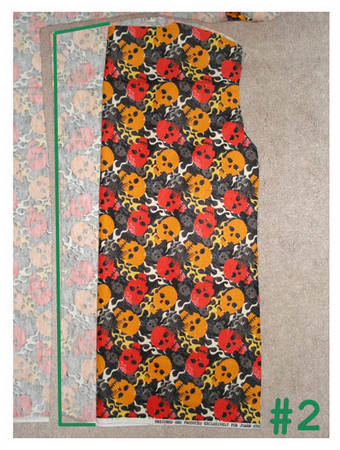
2. Take the piece you just cut out and fold it in half. Lay it over the fabric and cut it out adding 1" - 1.5" to the straight edge. Repeat.
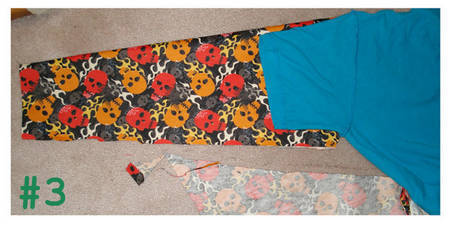
3. Now fold the fabric and along the fold lay the tshirt sleeve down. Adding about .5" to the bottom cut the shape out at whatever length you desire. Repeat.
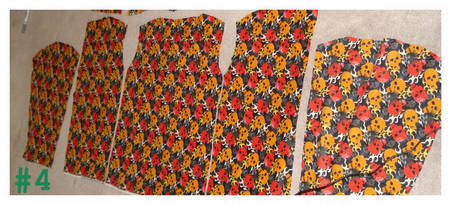
4. Now you should have 5 pieces. 1 back. 2 front. 2 sleeves. If you don't have this reread steps 1-3.
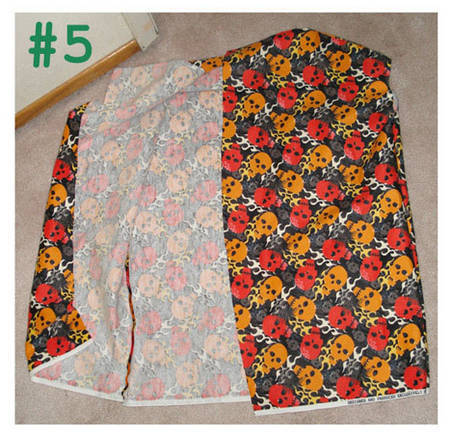
5. Now we start to sew. Take the back piece and sew the front pieces to it. You should be sewing down the side and along the shoulders. If you were to put this on now it'd be like an ugly vest.
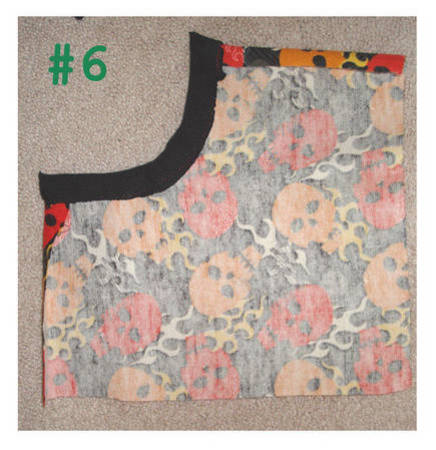
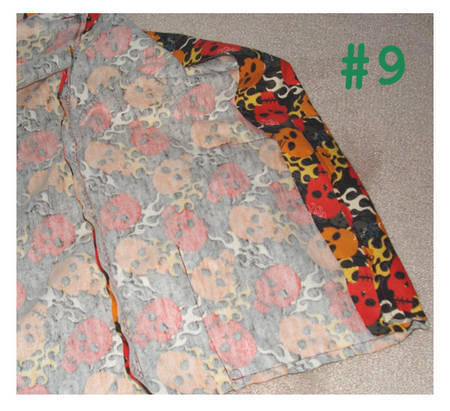
6. Now cut out pockets. Your choice of the size and shape but mine look like this. I take some of the rib knit fabric and cover the edge.
7. Now take your main piece and fold that extra fabric in.
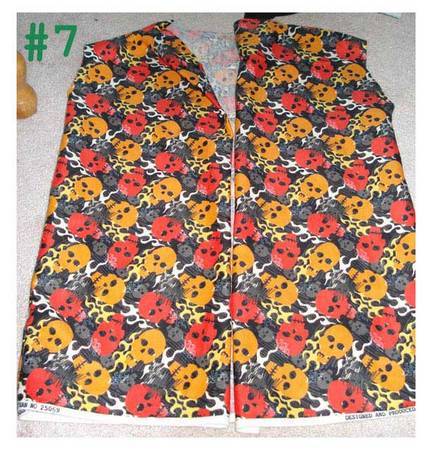
8. Once you've decided where the fold will be unfold and pin the pocket in place. Part of the pocket should overlap the fold. Sew it down.
9. Now that you've sewn it down fold it over again and pin the folds in place.
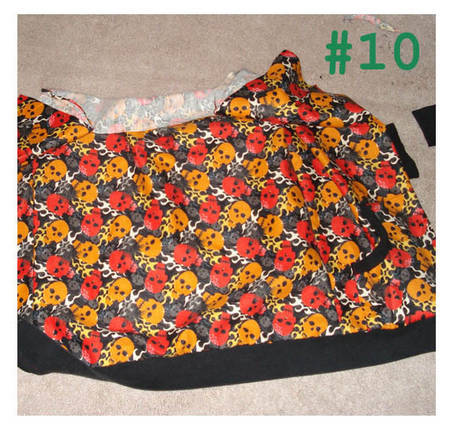
10. Now sew the bottom band on. The band should be slightly shorter than the whole bottom so you can stretch it a little as you sew. That will give the bottom a slightly snugger fit.
11. Now pin the zipper on under the folds and try it on to make sure the zipper isn't lumpy. Then sew it down. (If you have extra fabric at the neck fold it down like a v-neck)

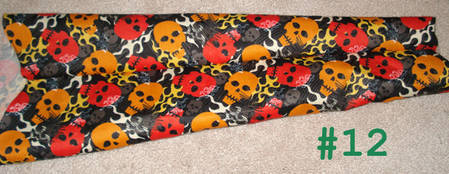
12. Now onto the sleeves! If you don't have something relatively close to what was shown in the previous picture you might want to reread some steps before moving on. So take your sleeves and sew them so they look like sleeves. (hopefully it's self explanatory)
13. Once you've sewn up the sleeves you can sew them to the main piece. Make sure everything is going in the right direction before sewing. Multiple times I've ended up w/ inside out sleeves.

14. Now sew some cuffs. Then sew them onto the bottom of the sleeve. Didn't really show this but hopefully you can figure it out..
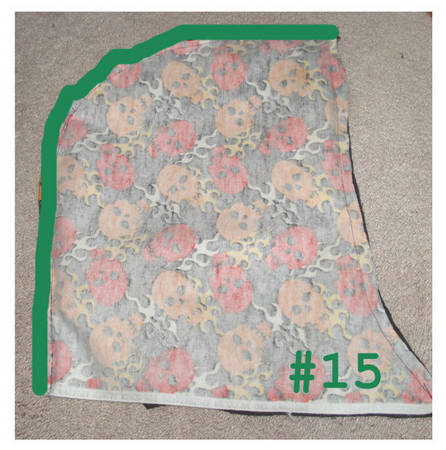
15. Okay we're almost done! Now we move onto the hood. READ THIS PART CAREFULLY I CAN BE A BIT CONFUSING. Look at the previous picture. See that line I drew around the neck.. Measure that. Divide that number in half. That number is the length of the bottom part of the hood. (bottom straight edge in the picture below) The shape of the hood is your choice. Now cut 2 of those out in your main fabric and 2 of those out in the lining. [i forgot to take pictures of the pieces]. Now with the right sides facing each other sew along the green line on the main fabric and the lining. You should have 2 seperate hoods now (one hood is main fabric, one is lining).
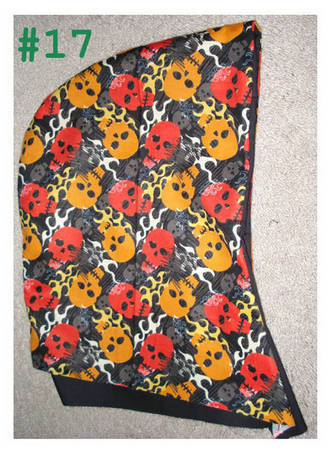
16. Now with the right sides of the hoods facing each other, sew along the green line.

17. Turn it right side out and you have your hood. This is the time to add a drawstring thingy if you want. That would be done by poking holes at the bottom and sticking a shoelace/ribbon through.
18. Now sew the hood to the main piece. If you want you can cover this seam because it will be the most visible when you are wearing it.

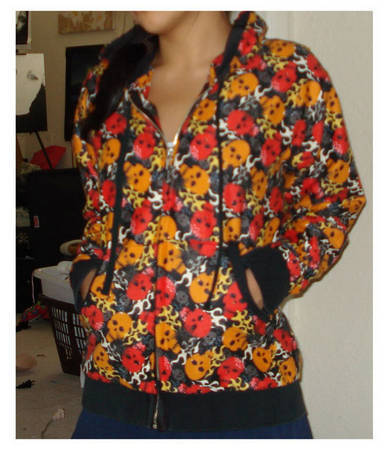
19. YOU'RE DONE. Admire your work! or if you aren't happy with what you made.. salvage the zipper, scrap the rest and start over!!
No comments:
Post a Comment